
How To Use Knifeless Tape and When to choose Finish Line or Design Line
Ever heard of knifeless tape? It is an innovative product that 3M manufactures allowing graphic installers and car wrappers to create bold lines and unique designs by setting the industry for finishing vehicle graphic installations without a blade. Over the years 3M has continued to tune and improve their product making it a very useful install tool for any serious wrapper or vinyl installer. There are similar products on the market like wrapcut but if you’re serious about quality and craftmanship you’re going to want to stick with 3M, a product with known reliability.
3M DESIGN LINE KNIFELESS TAPE

If you perform a lot of color change wraps or custom camouflage wraps then you’ll typically use Design Line. The most flexible knifeless tape that allows the installer to create highly contoured designs while leaving a sharp clean edge. Design line will easily slice through your gloss, matte, and satin films however it will take a bit more care and precision to use Design Line to cut through thicker vinyls such as carbon fiber or chrome or printed wrap with laminate but it is possible. Typically, for thicker vinyls stick to the Finish Line knifeless tape, especially if you’re new at it.
3M FINISH LINE KNIFELESS TAPE
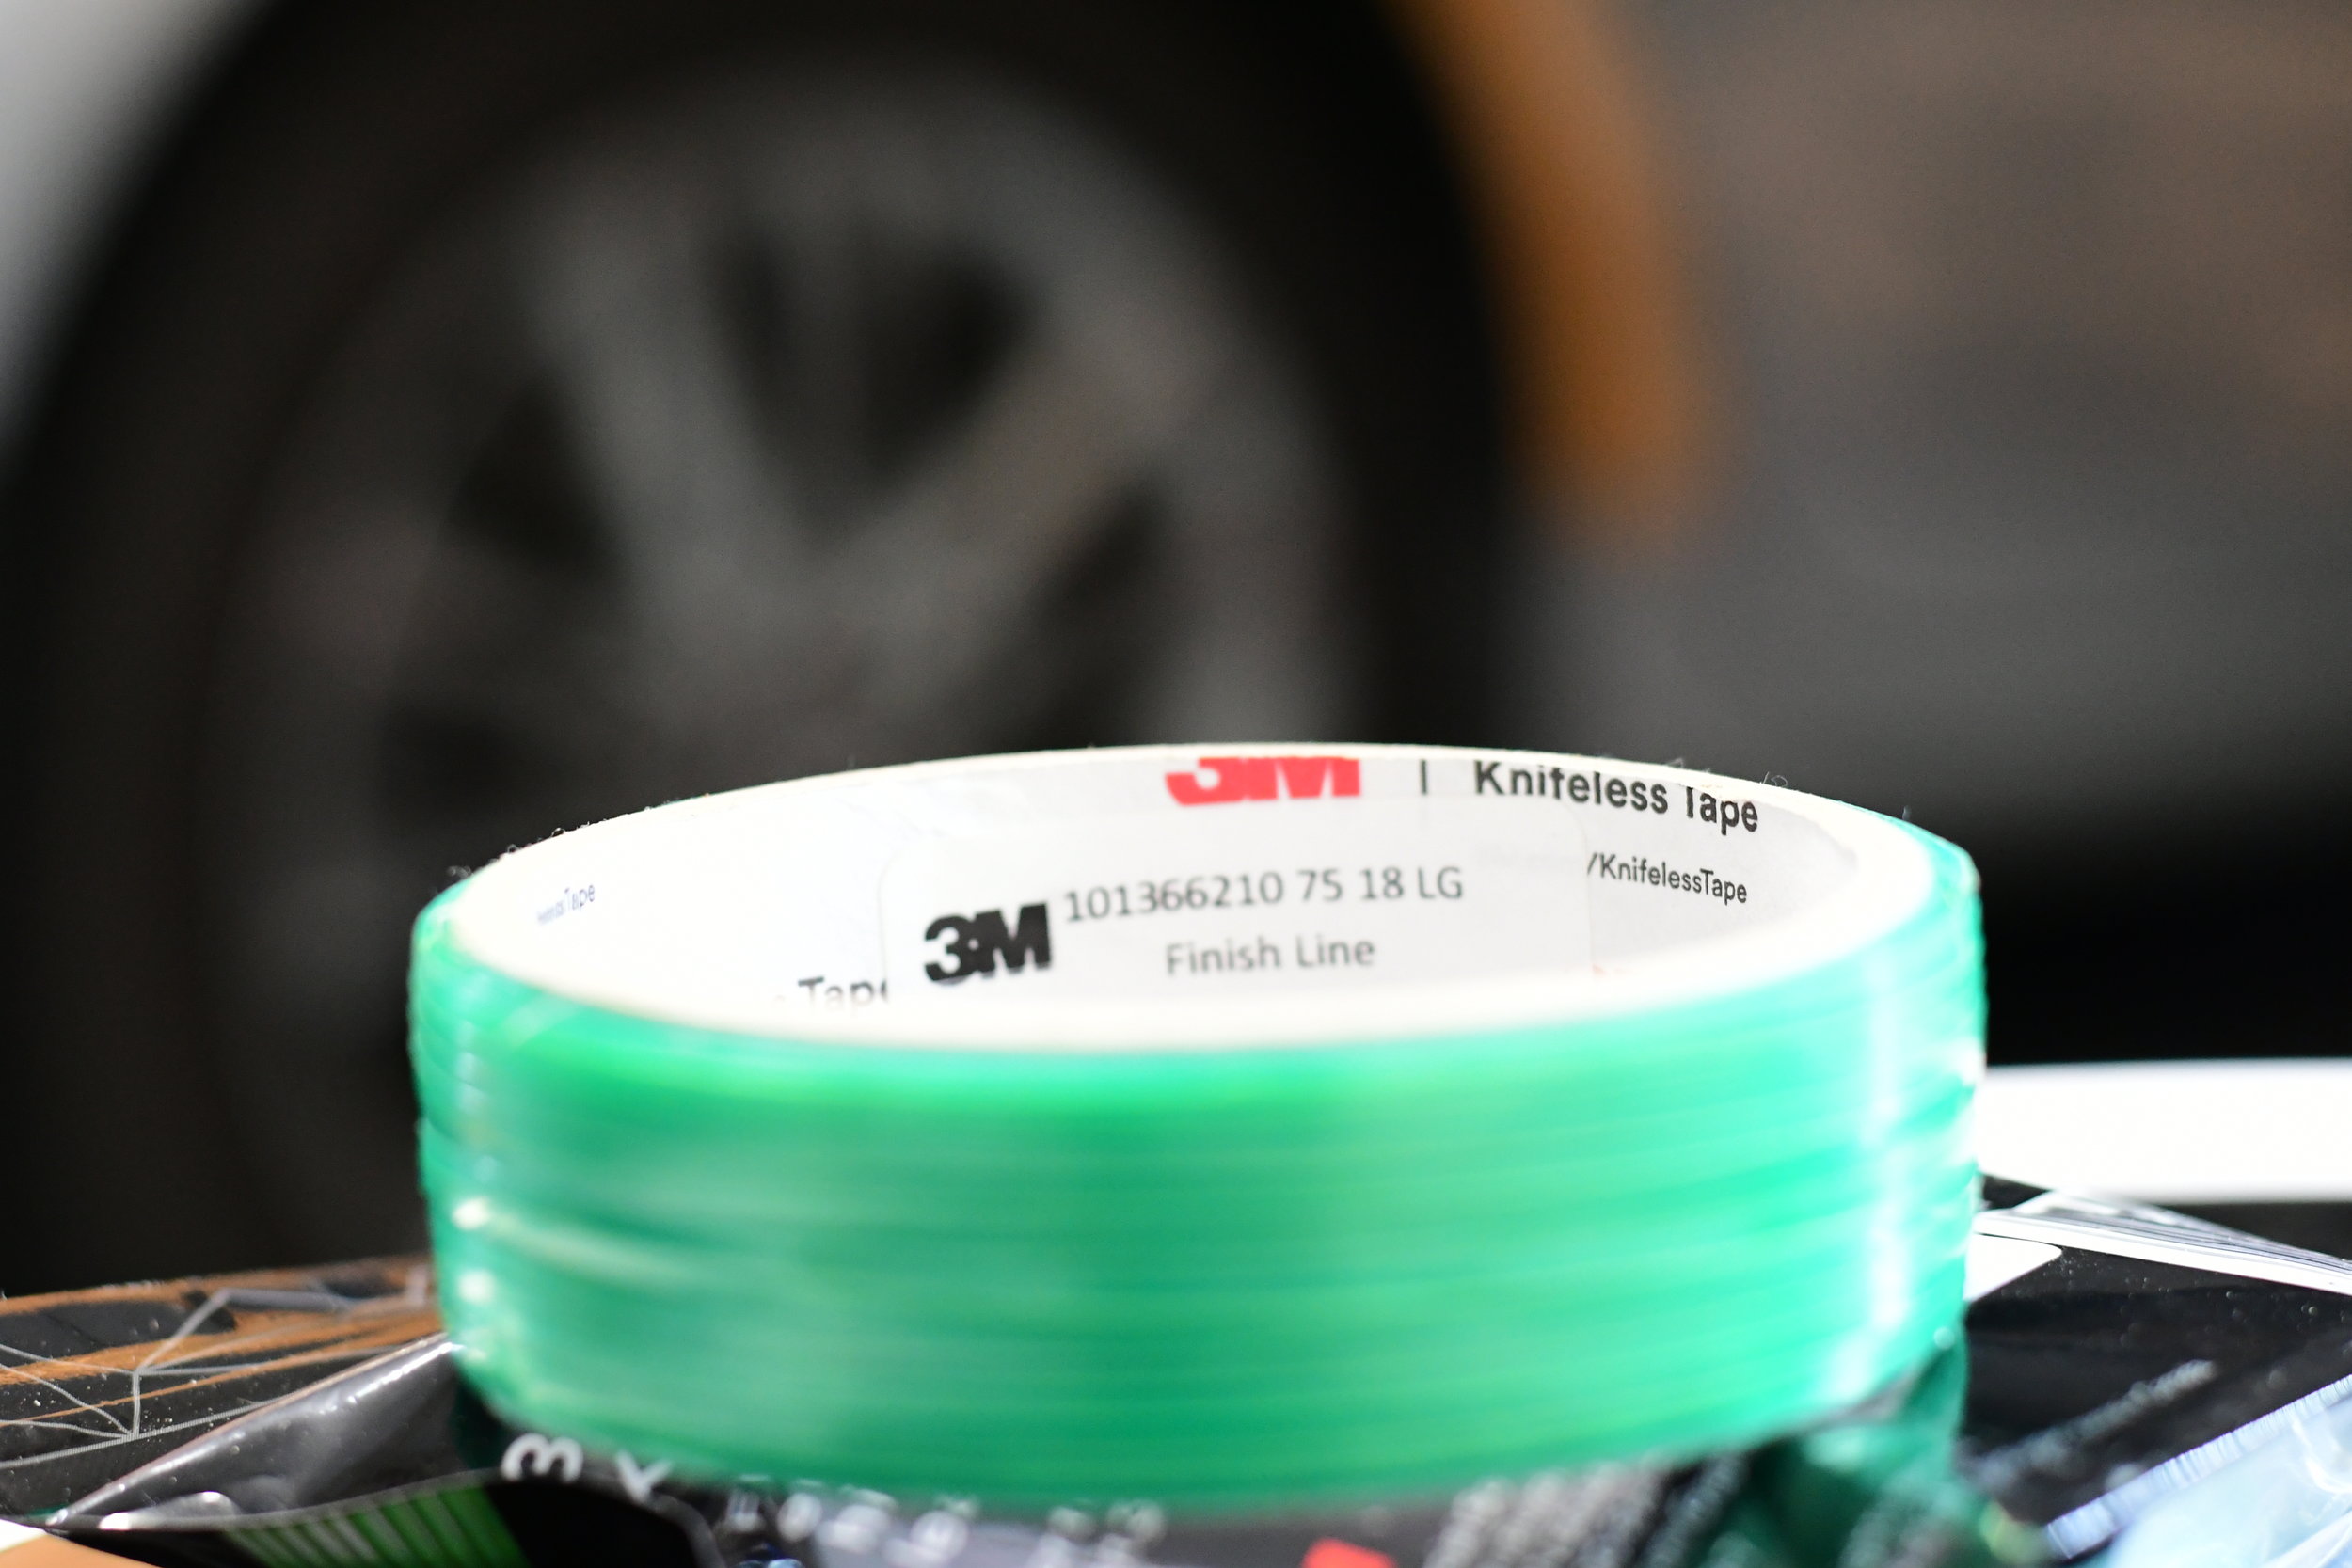
For striping and cutting through thicker vinyls like chrome, brushed steel or carbon fiber you will want to use 3M FINISH LINE. Finish line does not bend or stretch the way Design Line does because the center filament is a thicker more durable material. Making long straight precise sharp cuts a breeze regardless if it’s matte red metallic or chrome rose gold.
The installation process for either tape is relatively simple. The more you work with the knifeless tape the more confident you will become. Besides laying straight lines and leaving tails long enough to start, one of the trickiest parts for beginners is starting the knifeless tape. I would recommend practicing this 10-20 times with some short pieces and scrap vinyl. Repetition + Feedback = Success.
STARTING THE KNIFELESS TAPE
Apply your knifeless tape to the vehicle or whichever substrate you are working from. Ensure there are 6-8 inches of knifeless tape exposed to the outsides of where your graphic/vinyl will be installed. We’ll refer to these as “tails”. The tails should be secured to the substrate for 1”-2” past the edge of the graphic, the more the better as dangling tails can grab onto things and easily pull up your line.
*It’s a good habit to start your knifeless tape before you even install the vinyl. This allows you to quickly transition from install to cut and saves you any headache in the event the tail didn’t break free properly. If your tail is not extending far enough out from under the edge of the vinyl and you go to start it there are times you’re likely to break it and end up with no tail to pull through and make your cut. Then you let out a few F-bombs, take a swig of something caffeinated and go to work on another technique that we will discuss in later blog - KNIFELESS TAPE TRADE INSTALL TIPS
Take your knifeless tape tail and fold the start back over itself approximately 3 inches. WIth one hand press your thumb firmly on the folder edge covering 1/2-3/4" inch of tape. With Your other hand should have a good hold of the tail, carefully snap the tail away from the thumb breaking the carrier tape and exposing the center filament line.
CUTTING WITH KNIFELESS TAPE
The center filament line is what cuts through the vinyl. To make your cut pull the filament line to the edge of the final where you want to start your cut. Place any finger, preferably thumb on the edge of the vinyl and the filament line. When you are ready gently tug on the filament to start cutting through the vinyl. Continue pulling back and not upward, pull the entire length of the graphic until the filament has cut through all intended pieces of vinyl. Remove excess vinyl and remove the 2 carrier tapes from under the edge of the cut vinyl. Gently go over the cut with a little heat, then with your wrapglove use your finger to seal it, then more heat, the again seal the deal with the buffered side of your squeegee.
And that’s a wrap, now you know the basics on how to use knifeless tape and when to use design line versus finish line.
Keep an eye out for more knifeless tape tips in future blog posts.
-The Wrap Empire
DISCLAIMER